EGX Rezzed Special Scenario

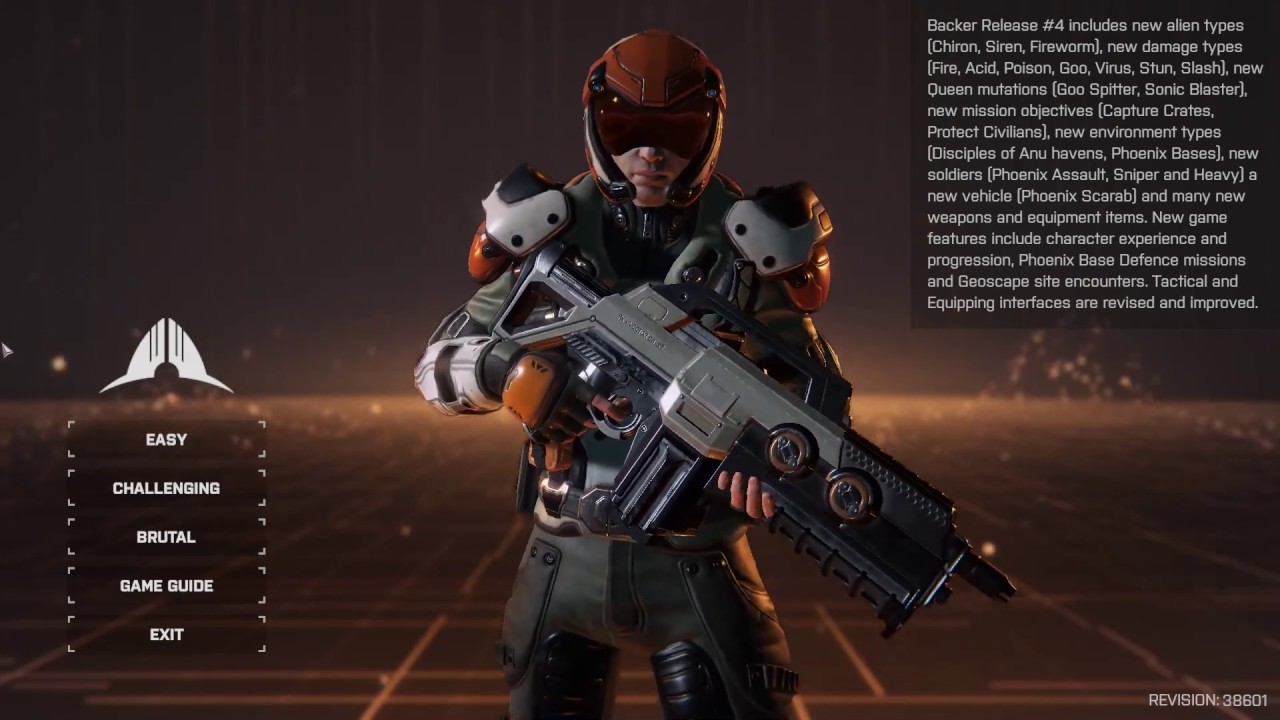
The keep queues short at EGX Rezzed, we were running a special build of Phoenix Point which let visitors play one of 3 different pre-constructed missions. There’s Easy, Challenging and Brutal.

Only a couple of people managed to defeat the Brutal mission and none on their first attempt.

Are you up for the challenge?

If you wish to try out the EGX Rezzed special build, all you need to do is download the attached config file and copy it into the root folder for Backer Build 4 (where the executable is located). To return the build to normal, just remove the file again. autoexec.cfg (41 Bytes)

2 Likes

I will try it after work. :wink:

Sounds great. I’ll give it a go when I can.
M<

Uh, brutal looks really bad for PP, I understand why only a few managed to defeat them. Nice to see the Chiron, is it still in the original BB4 implemented? Haven’t seen them yet.

I will try my luck in another mission later on. :wink:

Everything in the Rezzed demo is in the normal BB4 build. The special file just forces certain scenarios to show all of these things to the player.

This Brutal scenario is not messing around. Any tips in the best way to deal with it? My guys get quite a beating and THEN the Queen shows up.

Julian claims to have beaten it on the second attempt (citation needed), by hiding in the build away from the Chiron and using the Scarab to deal with them.

By now my most “sucessful” attempts have been with:

  • putting the heavy on the rooftop and hoping his Hell II Cannon can stun away the chirons;
  • blasting away the many fireworms put on the battlefield in an attempt to lower the aliens willpower thus gaining some precious turns while they panic;
  • all the possible explosives;
  • praying the aliens will blast their comrades while grenading us.
  • getting aliens arms/grenade launchers/machine guns with just one sniper shot, if another shot is needed to finish the job, than it’s no use.

But the main problem is I can only put pressure in one chiron, while the other stays free to do its thing. Well, you didn’t waste that “Brutal” setting :smiley:

I’ve beaten the brutal mission on my second attempt. While it was fun to play and way more challenging than usual game, I’m still concerned it’s not brutal enough, especially if you take all the possible skills into account.

After action report:
Turn one: Heavy and Scarab go left, and tactically nuke explosive chiron, and generally make themselves visible to draw fire. Techi deploys turret at the back, Assault holds the main entrance with overwatch. Sniper hides in the Scarab, because he’s basically one shot liability at this point.
Turn Two: Artillery chiron fires one barrage, but the building catches most projectiles. Firebugs fall from the sky around the Scarab, but Sniper can get out, gunslinger them point blank, and still get back in the same turn. Scarab finishes off the explosive chiron, while Heavy uses his second rocket on nice group of three. Tech and Assault secure inside of the building - they can’t quite dispatch everyone, but by now all crabmen are panicked.
Turn Three - Four: Fireworm drops from the roof and promptly reduces Assault to crispy longpork. Heavy cleans up the left flank and wastes a turn trying to find second mindfragger, but I think it’s been obliterated in one of the explosions already. Sniper drives around in the Scarab and unloads rocket launcher at another chiron - can’t quite kill it, but it’s ok since it panicks and runs around. Tech deploys another turret on the right side and finally kills it
Turn Five: The queen appears and starts spawning mindfraggers, and there are two last crabmen on the map. Scarab is out of rockets, so I park it near the queen and get the sniper out. Tech tries to move for the last crabmen, but doesn’t kill it and is left awkwardly standing in the open. Heavy is on the wrong side of the map, reloads rocket and fires at the queen, but the damn thing is actually armoured and doesn’t really notice.
Turn Six: Another fireworm drops from the roof (seriously, if you give those guys ability to jump and ambush you from above, they will be terrifying!) and alights my Tech and crabman. Combined with wounds, the tech has all limbs disabled and 2 hp left - but mechanical arms don’t require arms to operate, so he patches himself up. Sniper scavenges nearby crate and nades the mindfragger. Queen takes the bait and spits goo at Scarab.
Turn Seven-End: Scarab tanks like a champ. Right side turret does most of the damage, while Sniper finishes off damaged limbs for that sweet bleeding effect. Tech backs down for the other turret, but by the time he’s back fight is almost over so focuses on cleaning up mindfraggers and crabman. Heavy finally jumps in range on last turn to steal the boss kill (that bastard!)

Overall, quite tense and not flawless, but for the amount of tactical errors I would expect something more … brutal :slight_smile:

Now overall feedback.

Explosives are unfun, especially how they interact with limb mechanic. Anything that is not immediately dead will likely bleed out on their next turn. Chirons artillery can oneshot sniper/assault class, and the worse part is there is very little you can do about it (find nearest sufficiently big building as cover?). This is actually what happened on my first attempt, when I did not know which chiron did what.
Heavy’s pin-point, map-range rocket is just a kill button on almost anything, and I don’t think it can balanced to not be either op or useless without overhaul. To compare, Scarab with huge scatter is really binary - it obliterates if it actually hits something, which makes it situationally useful only in target-rich environment. But Scarab can’t do anything else, so it’s not like you make a meaningful choice to fire or not.
Granades are more fair, since they have short range, require a slot and take AP to even equip (that is unless someone would have skills that gives you free grenade throws and other ones that lets you manipulate inventory for free, and you happen to fill your backpack with them … wait a second …). And if enemy manages to come close enough to throw one - well, that’s what called tactical error.

Same thing with any multi-shot per turn skill. Your 10 willpower sniper can gunslinger empty your pistol clip (and get 5 points back from easy fireworm kills), reload, and still have enough AP to fire sniper rifle. It’s like Firaxis Lost all over again.
Thankfully extortion spam is harder, but increasing cost is just a bandaid - if you can increase your willpower as high as current builds suggests, 15 will soldier can still fire up to x6 in a spike. I really feel like those skills should be limited to once per turn, or willpower should have more in-depth management.

On the bright side, I really like where the AI is going, mindfraggers lurking from cover to cover, crabmen deploying shields. Any chance they would learn to work together? Eg. shield guys positioning themselves to cover more vulnerable teamcrabs after they fired.
I learned new respect to fireworms. If they catch you unprepared, you’re in for a bad time. I wish they had better AI in the normal game (eg. ambush attacks), rather than just crawling at snail pace through open maps.

Thanks again for the game!

Beat it on the second attempt - but the damn game froze on me after I’d killed the Queen, so I didn’t get to clean up the last of the Fraggers (I was just about to shoot one off of my Tech’s head, too :frowning:

This was much more difficult than previous missions, but I concur with almost all that Stilk says. Explosives are absolutely necessary in this scenario, but massively OP for the usual type of mission. I didn’t Gunslinger Spam my Sniper - but damn, I wish I’d thought of it ! :slight_smile:
Actually, that’s not true. I positioned him in one corner of the map, where he acted as a draw for Fireworms and Crabbies to divert them from the rest of the squad (and manage to shoot a Fragger off my Heavy’s head on the other side of the map once). He wasn’t really able to use his pistol much until the last turn of his life, when just before he bled out, he charged towards the most dangerous cluster shot a Gloworm and Gunslinger Spammed a Crabbie down to 7 hits, damagnf his MG in the process. Then he fell to his knees and said: “Time… to die…” :sleepy:

A Tech/Scarab combo is also absurdly powerful. Currently, the Tech has the APs to hop out of the Scarab, repair it, then hop back in and drive it around. This makes both him and the Scarab virtually immune until the Queen Gooes it - and if he doesn’t need to repair the Scarab that turn, he simply drops a Turret out the back to hoover up Glowworms (though I have to say, I find the Turret’s trigger mechanism confusinly erratic). I’d advocae either allocating a minimal AP cost to get into or out of the vehicle, or upping the cost of Repair - you should have to choose whether to repair the vehicle and stay outside or stay inside and forego the repairs.

The Scarab acts as a useful decoy once it’s been Gooed. While Queenie is concentrating on that, I was able to hoover up Rockets and Grenades out of the crates, then pelted her with those whilst guarding the explosives guys with Overwatch from my Assault.

That sounds very straightforward - until you learn that said Assault got mindfragged 3 times during the mission and had to be saved by the Tech each time (he was about to return the favour when the game froze on him).

I like the way the Chirons work. Bloody dangerous, but the random spread of fire makes them survivable - and if you place your peeps right, you can use them to clear out the Crabbies.

I really enjoyed that. It’s the first time since I figured out how things work that I’ve felt properly challenged - and my squad got absolutely slaughtered on my first attempt because we clustered too close and gave the Chiron a juicy target to aim at.

Funnily enough, I found the Challenging scenario more difficult - it took me 4 attempts to beat it.

I still don’t get how Turrets work. They don’t appear to trigger on enemy movement, and also don’t fire until they’re fired at. In any event, don’t rely on them to provide an Overwatch defence.

Staying under roof cover and ganging up on the Sirens appears to be the trick. Interestingly, the scenario I won was the one where my Heavy’s Rocket Launcher got disabled on the first, so I was never tempted to step him into the open to use it.

That said, my one-armed Assault honed the technique of stepping out of cover unloading with pistol, then stepping back into cover, to a fine art.

Loving the challenge of these.

Just played the Easy Scenario, and found myself wandering around the map - twice - looking for that elusive last Crabbie. I’m assuming there wasn’t one and the Scenario simply didn’t trigger an endcard, but it does raise an issue with the current builds.

It is frankly very boring having to search the map for that last elusive Crabbie who’s decided to cower in a corner and hide. Personally, I’d add a codeline that triggers a Samurai Charge when Crabbies are reduced to 1, which means that a) you won’t lose players who simply get bored of hunting empty maps and b) there’s an element of danger involved in the hunting (at the moment the last Crabbie just cowers there until you shoot it - I’m assuming that’s a bug).

Thanks for these. The Challenging and Brutal Scenarios give a great indication of just how good this game will ultimately be.

In this case, it’s actually a bug on one very specific map layout, where a Fireworm starts the mission by spawning inside some of the scenery.

The above image is the offending map layout. If you destroy the trash pile highlighted in the image, that should destroy/reveal the final fireworm.

If you have the map variation pictured below ( differentiated by having a space between the trash-pile and the fence behind it ) then this shouldn’t be necessary.

1 Like

Finally I’ve had time yesterday so I played the three EGX scenarios. I am glad that Snapshot had released these, since I haven’t encountered Chiron’s, siren’s nor a Queen in the regular campaign. So I have been looking forward to test the new enemies. I managed to finish all three scenarios on my first attempt weirdly enough I struggled in opposite order. The hardest for me was Challanging, easy even almost all the guys gut injured and then Brutal although I got probably lucky.

Easy: Tough starting position with two Crabee gunners in visual range. By accident I have used grenade to kill two fireworms + the garbage pile with a hidden fire worm :blush: So no problem there. Although all my guys gut injured, except Heavy who was high on the firth red gate. Not much use there and I didn’t wanna use the rocket launcher.

Challenging: Not a easy spot either a lot of enemies close by. My Sniper and Engineer cleared two Crabies to my immediate left behind the buildings. My Heavy jet-packed himself to the small inclined roof before the slope road to the center of the map. My Assault went right and encountered multiple enemies. Fired a shot on one Heavy Crabman on in the arena. Then thrown a fire grenade between arena and the tall Anu building apparently full of enemies. There were two Crabman plus one Siren. In the future turns AI sent multiple enemies through the fire. Lucy me. I managed to survive the first goo shot from Chiron without a hit. All the roofs around me got hit although. For some reason nobody was interested in my Heavy. I lost my Assault in fourth or so turn to the Heavy Crabman from the arena. Eventually I went down with my Heavy from the roof to originaly test the flame thrower. But never got a chance. I used the RAM ability which is kind a cool. Also got to see firsthand the siren screeming attack. So in the end lost my Assault used one medipack on my Heavy.

Brutal: I have to say that I felt kinda undergunned when I started the map. Only 4 soldiers + Scarrab. Luckily Scarab does not need a driver plus the rocket are way better than the Armadillo gattling gun. I went with my Scarrab to the right side of the map and attacked one Chiron on the right. Eventually killed him with it on the second turn with another volley. My Heavy went up the generator roof. Since the Hellfire cannon was unable to fire to the ground. I had to use rocket launcher to kill the second Chiron. It took me two rocket, luckily there was a crate with two extra rockets in it a presant for the Queen. I used my Assault and Sniper to cripple and kill couple of Crabman. and my engeneer went to the left corner and deployed a turret. Plus, went on overwatch. On first enemy turn I taught I am done. The Chiron on the right fired a volley of fireworms who landed close to my Assault and Sniper. The right Chiron fired something explosive. It took better part of the closer roof plus damaged my Scarrab. Next turn I killed the fireworm Chiron with my Scarab. My Heavy fired first rocket to the other Chiron. I used the rest of my team to kill off the fireworms plus some Crabees who were in the vicinity. Next enemy turn two mindfraggers got my Sniper and Engineer, my Assault wasn’t good enough for them :slight_smile: . Lucky for me my turret got rid of the one sucker on my Engineer and my Assault got rid of the one on my Sniper. My Heavy finished the other Chiron. I saved my last two rocket on the Scarab for the Queen. So I just sent it to scout the right side of the map. There were still like three Crabman one got to fire on me from the right corner of the power station. Finished hem the next turn. My Sniper got rid of the one on the left side of the building in like two turns plus turret helped. The came the Queen. I must admit that it looked great again and different with the new body parts. It launched a mist plus one mindfragger. Hit her with Heavy’s rocket plus Scarab on two turns killed the mindfraggers. Eventually even my hellfire canon got some use. I emptied like 5 grenades from my Assault. I managed to deploy a second turret on right side on top of some crates. She didn’t manage to do anything else, I didn’t let her. I crippled her legs so she didn’t get far on her first turn and on the second she had both pincers disabled and only couple of legs left. She did spawn a two or three mindfraggers total. Then she stopped I don’t remember disabling the tail part at all but she stopped spawning. She managed to fire a goo salvo to my turret and Engineer. Lucky for me the crates with the turret protected my guy. Then I finished he with my hellfire cannon and won.

All and all I was very satisfied with these domo scenarios. Whenever I wanna have a good fight I can load up the config file and play. :sunglasses::+1:

I am slightly baffled by the dual gun options with Heavy and Assault. I do like it but I haven’t seen any perks enabling this setup. Can someone shed some light in to this? Will it be possible in the game or is it now just for the DEMO purposes?

I need to check it out finally. I didn’t realised that having a baby is so time absorbing… My evenings are gone… Maybe in the weekend.

Thanks for clarifying UV.

Having a noise detection system like XCOM would help, as you’d be able to home in on the pesky little critter.

Ok did all 3 mission in first attempt. Challenging map was more difficult than Brutal, so I can confirm below statement about difficulty. :slight_smile:

But I suppose this was just more difficult for me because of loosing assault in first turn to my stupid move. Didn’t take a possibility that enemy know where is my soldier.

I’m uploading video about it right now… 2 hours of this whole EGX journey. And you know what? This challenging and brutal missions are more fun than BB4 in general. :wink: So expect update of this post in next… I don’t know how many hours. :slight_smile:

I will read now your tips about that demo and maybe comment some of them.

I had a similar experience with the EGX scenarios, only I lost my sniper rather than my assault on the Challenging map. They got grenaded early on and lost their rifle. did manage to pull through though.

Brutal ended up being easier for me as well. Nice to know that a few others also beat it first try as well. Dropping two volleys of Fury and Gemini rockets on the explosive chiron seemed to help a lot.

EDIT: My video

For me entering buiding was too way dangerous. It is better to stay outside just close to the wall. :slight_smile:

this is valid tactic. :wink:

You put him in danger of mortar and fireworms. Too much risk for me.

I would say it is more important to blast them to keep your soldiers alive than lowering alien willpower.

Necessary just for the queen, but yes it is valid tactic for heavily armored enemies since Backers Build 1 :smiley:

I prefer them not using grenades at all.

I would say it is only needed for machine gun arm, if you keep enemy at bay then pincer or even grenade arm are not so dangerous

If you hide well, Chirons are useless. :slight_smile: I almost did that in my attempt - just didn’t know they have so steep shooting arc.

Give this man a beer… or good whiskey.

good move, I didn’t think of panicking them, but I suppose it wasn’t so easy in my attempt since there were no such groups of enemies.

Well, you know those are EXPLOSIVES. :slight_smile:

correct

Heavy will also miss with his rocket launcher and grenade launcher. Currently it is 100% accurate but it will change.

I would limit them to maybe not 1 per turn, but maybe 2 or 3 max.

And turrets. :slight_smile:

I had no other option. My sniper rifle was destroyed in first barrage of mortar chiron.

Well if Scarabs need repairs then it means it has lower armor than usually, so it doesn’t give any meaningful protection anymore and is still gigantic target for enemy. And it has only 4 barrages of rockets, which is not too much to “drive around”.

It should change (at least I really hope so), as current option is just to allow players to use vehicles.

That is fantastish idea. :slight_smile: Get to the choppa.

My squad was most of the time not more than 3 squares from each other. :wink:

Congratulation. My squad unfortunately get little smaller on Challenging map. :frowning:

Risky move. :wink:

Only Goo Head is new.

I hope it is for demo purposes only.

Gemini are enough. :slight_smile: